
I was totally inspired by this beautiful sentiment on this quilt.
You could say that I fell in LOVE.
I went to visit my trusty, overachiever OhFransson
for excellent information.
Full tutorial info here.
I decided I didn't want to do
all the piecing on the back.
So I went with the same concept but just using
the quilt back as my 'block', if you will.
I wanted chunky, cursive, LOVE.
I added the 'i' so i could get the curve on the 'l'.

I used the Pacifico font found here for free,
put it in Word at about a 500 size.
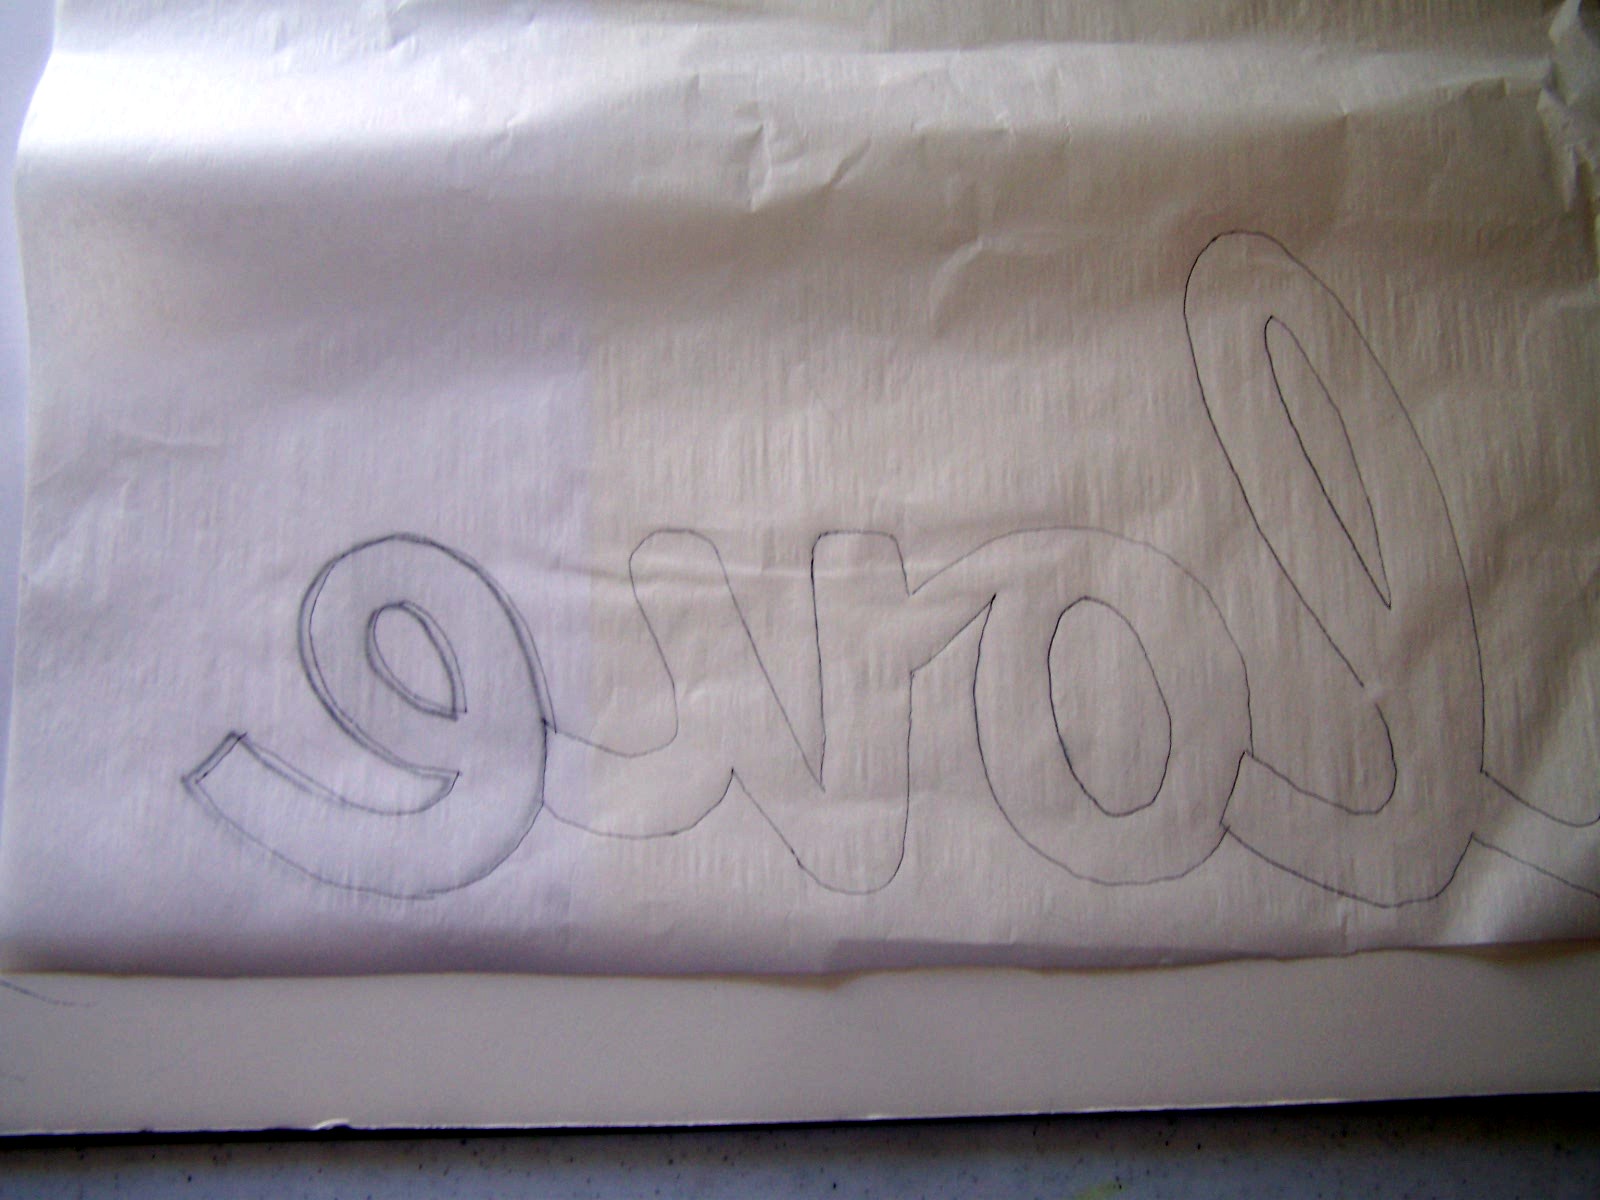
I worked with heat and bond to fuse to my backing.

You work with the words backward.
Tracing onto the heat and bond.

Be sure to adhere the heat and bond to the
WRONG side of fabric.


Zig Zagged around the letters

and then reinforced with machine quilting

once I quilted the whole thing.

Really easy and very satisfying.
Isn't that what love is all about.....

That is a great idea! I love it. Thank you for sharing this!
ReplyDeleteThat's brilliant!! I LOVE it...
ReplyDeleteP.S. don't love the captcha, or rather they don't love me ;-)
This is a great idea. Thanks for sharing how to do it!
ReplyDeleteOoooooeeeee, I love that! Thanks for the great explanation, and I'll go check out Elizabeth's post, too.
ReplyDeleteThanks for the great idea and sharing it,sure I`ll do it!!
ReplyDeleteWhat a great idea!!! LOOOOOVE it! thanks...
ReplyDeleteThanks for sharing - love it!
ReplyDeleteLove that - super cute! :)
ReplyDeleteLOVE the LOVE!!
ReplyDeleteSo cute and it adds such a nice touch too!
ReplyDeleteI loved that you took a big idea/project and made it into 'your own'! I'd seen OhFransson's quilt-along and tut but thought it was a bit much for me. Your idea is much more attainable for me; thanks so much.
ReplyDeleteI "love" this idea! Can you tell me how you cut the letters out? Tiny scissors? I always struggle with this in any type of applique I do. Any tips you have would be great! thanks.
ReplyDeleteThanks Becky! I just used a sharp pair of regular scissors. The princess words were fairly large, like 5” tall. Although, I do also use a small pair of 4" ginghers for small areas. These are my most favorite tool!
Deletehttp://www.joann.com/gingher-4in-large-handle-scissors/4655924.html#q=scissors&start=20
As the tutorial states, you will be using Heat and Bond and that helps stabilize as you cut. Makes it just like you’re cutting out paper.
I haven't tried the cursive writing yet, but what i have done and LOVE...I recently made a quilt for a wedding and used Scrabble style for the bride and grooms name...Kevin and Winter were in 2 inch square letters and I appliqued them onto squares and did "Kevin loves Winter" Scrabble style....
ReplyDeletehttp://fabricandmemories.blogspot.com/2014/04/ready-to-have-and-to-hold-wedding-quilt.html
I turned out great. I want to try the cursive next time..Thanks for the idea!
That is amazing! Looks great
ReplyDeleteThat is amazing! Looks great
ReplyDeleteHow cute, love it, great idea, am going to try it as well!!!
ReplyDelete